Create a YouTube studio in your home

Create a YouTube studio in your home

How useful was this post?

Click on a star to rate it!

Average rating 4.9 / 5. Vote count: 88

No votes so far! Be the first to rate this post.

If you want to make it onto YouTube, your video quality needs to have a level of professionalism that a YouTube studio brings to the table.

Shooting video has become almost totally automated. Once the camera has been turned on, it can take over doing many chores a human once had to. Things like focusing the image or adjusting the color balance are automatically set. This has led to the misconception that when shooting inside a room, it can be left as is. The camera will take up the slack. But that’s erroneous, because the room influences and affects the final video.

So does that mean you have to build a home studio in a big room to shoot YouTube videos? Do you have to spend a lot of money to build your YouTube studio? Does the room have to be devoted entirely to shooting? No, to all three questions. But it does mean that the basics for capturing video and sound must be put into place. Time must be spent looking for equipment from a number of sources, like hardware stores, photo store and online retailers. Still, there is a distinct advantage to having your own YouTube studio setup. It will bring a level of professionalism and sophistication to what you shoot. 

Location

In a small room, the ability to shoot full length body shots may not be possible. Half-length may be the norm, for example, a TV newscaster-like setup where the talent is seated behind a table. So the next step is to create a “dead zone” in the room. It’s both for what the camera can hear and an “on-air zone” for what it will see. 

Light Control

Let’s look at light control first. Any external lighting must be eliminated. For example, windows must have blinds, curtains or masks that prevent any light from entering. This might require using black velour on a curtain rod. That way it can go in front of the window shades to further cut off light. You might need to apply black fabric directly to the windows with tape to seal around the edges. (Painter’s tape, for example, is a temporary tape that won’t pull up paint or damage the material it has been placed against). Doors must also be dealt with. However the majority of light “leak” will be confined to the floor. It temporarily be taken care of by using a thick towel to reduce the draft. It you want a more permanent solution, make a skirt from a dark, light-trapping material. Hang it down from the bottom of the door. 

Sound Control

Extraneous items in the room should be removed to lessen sound vibrations in general. Although, couches and other “dense” items (not wood) will absorb sound rather than reflect it. Carpeting will be of aid here also, but if there is no carpeting, carpet remnants can serve the purpose. The number of these required will depend on the volume of the floor in theory. However in reality, it will be a matter of trying different amounts in different locations on the floor while recording. Then you’d to listen to how it sounds, and repeat with varied placement until the sound quality is desirable. Sounds can be muffled using such means as weatherstripping around windows and doors. Also closing up or blocking any holes or vents work as well.

Having your own YouTube studio setup will bring a level of professionalism and sophistication to what you shoot.

Removing extraneous sounds from the room can prove more difficult, especially if the person is an apartment dweller. Loud noises from neighbors can be dealt with by asking the neighbor making the noise to refrain from what they are doing. One’s schedule can also be changed to avoid the times noises are at their highest. Street noise must also be taken into account. Shooting at the time when the garbage truck rumbles down the street makes little sense when another time can be used instead.

With these physical liabilities dealt with, creating an aural “dead zone” can be accomplished through the use of sound absorbing panels. Similar in nature to those that go under a speaker or subwoofer to muffle the sound, these panels reduce the reflection of sound as it bounces off the walls. They are available from different companies, for example, Auralex Acoustics. The size and shape of the room dictates the number of panels that will be needed. However, their actual placement is more important than their sheer number.

Working with sound deadening panels which will go on walls and the ceiling, will require the same kind of trial and error as that of the rugs noted above, but as an inexpensive aid to all this, there are digital sound level meters which provide the means for matching the overall audio response to that of the acoustic environment and seeing how the “noise pollution” is being affected. If possible, the voices or sound sources that are going to be recorded should be those used for the various tests. 

Youtube studio setup

The physical items that will be on-camera should be chosen with care. For example, if a person is going to be seated behind a table, the table shouldn’t be one with a highly reflective surface. Chairs should be simple. Avoid having reflective qualities (wood is better than chrome). Additionally, the chairs should be of neutral color with no discernible pattern on the fabric. If the on-air zone extends to the floor, then clean, neutral low-pile carpet is best. Plain white or colored photographic rolls of paper that are hung at the back of the set and swept down and extended past the camera’s view can provide a floor as well (requiring replacement after a shoot, as feet/shoes will leave marks and indentations).


Camera

There are two choices here: traditional video cameras and DSLRs. Video cameras come in varying types, but most possess a zoom lens of some magnification. However, these cameras are notorious for not having good wide-angle coverage. What could be more problematic is whether there is enough space between the camera and subject. This can be determined by creating the room’s setup, aiming the camera and seeing what the restrictions are.

Niceties like creating a shallow depth of field with a wide f-stop or tight close-ups are a function of the camera, not the space. Some accommodation between camera and space might be necessary. Filters and creative camera angles can take up the slack. If there’s a problem between camera and the room, first see if there’s another room you can use. Getting a new camera might seem like the last resort. But if it is unable to provide the desired results because it just isn’t capable, then it might be time to replace it with a model whose features suit your needs.

If a DSLR is to be used for shooting the video, there’s the advantage of being able to change the lens to suit the room. It doesn’t have to rely on the zoom feature. Typically speaking, a 50mm lens will provide a view that is well-designed for waist-up shooting. Additionally, it will not distort when brought closer. It also has a shallow depth of field that is well-suited for use when the background is close to the foreground subjects. DSLRs can adjust exposures manually with f-stop, shutter speed, and ISO. When space really becomes an issue, a wide angle lens, like a 35mm lens, can make up for the lack of space. However, care must be taken against the image being distorted around the edges. An overall solution for many will be to get a zoom lens that provides a range such as an 18–135mm lens. 


Our Camera picks for your YouTube studio

Lighting

The basics of good lighting remain the same regardless of the size of the room: for a standard single subject lighting scheme, the usual three-point lighting design is desired. You place two lights on either side of your subject at 45-degree angles and the third behind or above your subject.

Alternately, if you have one light with a softbox or diffused light source, you can set it slightly to the side near the camera position to create an overall diffused lighting scheme. Both the soft box and individual lights might have good success at being bounced off a wall or the ceiling. Whether this works or not requires trial and error. In any case, the separation of the person from the background must be such that any shadow can be eliminated, such as being “thrown” to the side (this will be evident with green screen). Test your exposure levels. Move the lights forward or back, depending on if you need more or less light. Then place some gaffer’s tape on the floor, marking the lights and camera tripod position for future shows.

LED lights provide nice, soft light, are dimmable and consume a small amount of electricity. Unfortunately, they often cost more than their tungsten counterparts.
Incandescent light sources can be purchased locally or online. Most producers will find buying a kit that consists of a set of reflectors and stands is better than going a la carte.

Although they cost more, LED lights provide a stable and consistent light source without any of the heat issues of incandescents. Heat can become a serious issue for incandescent lights and should be monitored closely.

Changing the intensity of the lights can be done by physically moving their position. Dimmers can also work, which must be rated for the voltage that will be coursing through them. In either case, do not tax your AC power by having all the lights plugged into the same AC outlet. If possible, a separate surge protector extension should be used. Additionally, high-quality extension cords are recommended to ensure stability and safety.

A decision on which type of lighting to use for the YouTube studio must be made. Tungsten lamps generate greater heat than LEDs, and both types of lighting can be dimmed to alter their intensity. Also there are many LEDs that can be had with dimming built into the product. LEDs have another advantage; they also have a greater shock resistance and are less likely to be damaged from being moved over time. Filters to convert the 3200K of tungsten to 5500K (daylight) are readily available. Note they will require mounting on holders placed in front of the lights. These filter holders will also need accessories, such as barn doors, flags, etc. to allow for control of the light.

Another source of broad lighting for a YouTube studio can come from daylight-temperature fluorescent light strips. These can be suitable for casting light on backgrounds or from walls to provide ample illumination in small areas. However, unlike stand-based lights, these lighting strips will need to be solidly attached/mounted to the wall and are far more invasive. But when the room has low ceilings that preclude the ability of raising lights up high, having these light strips attached can be an effective solution.

Light box


Controlling incandescent or LED lighting in a small area can be difficult. For this reason, the use of a light box can be the best solution. A light box is essentially a covering that goes over a light with space between the light source and the front of the box to allow for the diffusion material to spread the light out. This light has a broader range of coverage and also removes the sharp shadows that direct lighting can produce. Fill lights can be dispensed with in most cases as a result. But on the negative side, contrast is also lowered and must be compensated for. Some light kits include soft-box-like capabilities, and they can also be purchased individually in varying shapes and sizes.

Our lighting picks for your YouTube studio

Audio

Sound is as important as video. Since only limited adjustments are possible with a camera’s built-in microphone, you should always use an external microphone. As to which microphone to get, it depends on where the mic is to be positioned. For example, Blue Microphone’s Yeti USB mic is designed for tabletop use. Audio-Technica’s ATR-6550 provides a shotgun directional mic that can be used out of view, but near the camera’s position.

Shotgun mics, with a supercardiod pickup pattern are great since it’s designed to gather in sound from only one direction and can avoid unwanted sounds. Using a shotgun mic will require a stand so as to control placement, and making sure that it doesn’t cast any shadows on the subject is an obvious concern.

Sennheiser evolution wireless 100-p G4
Lavalier mics are the go-to mics for small YouTube studios for a reason: They’re easy to use and capture audio from a single speaker very well.

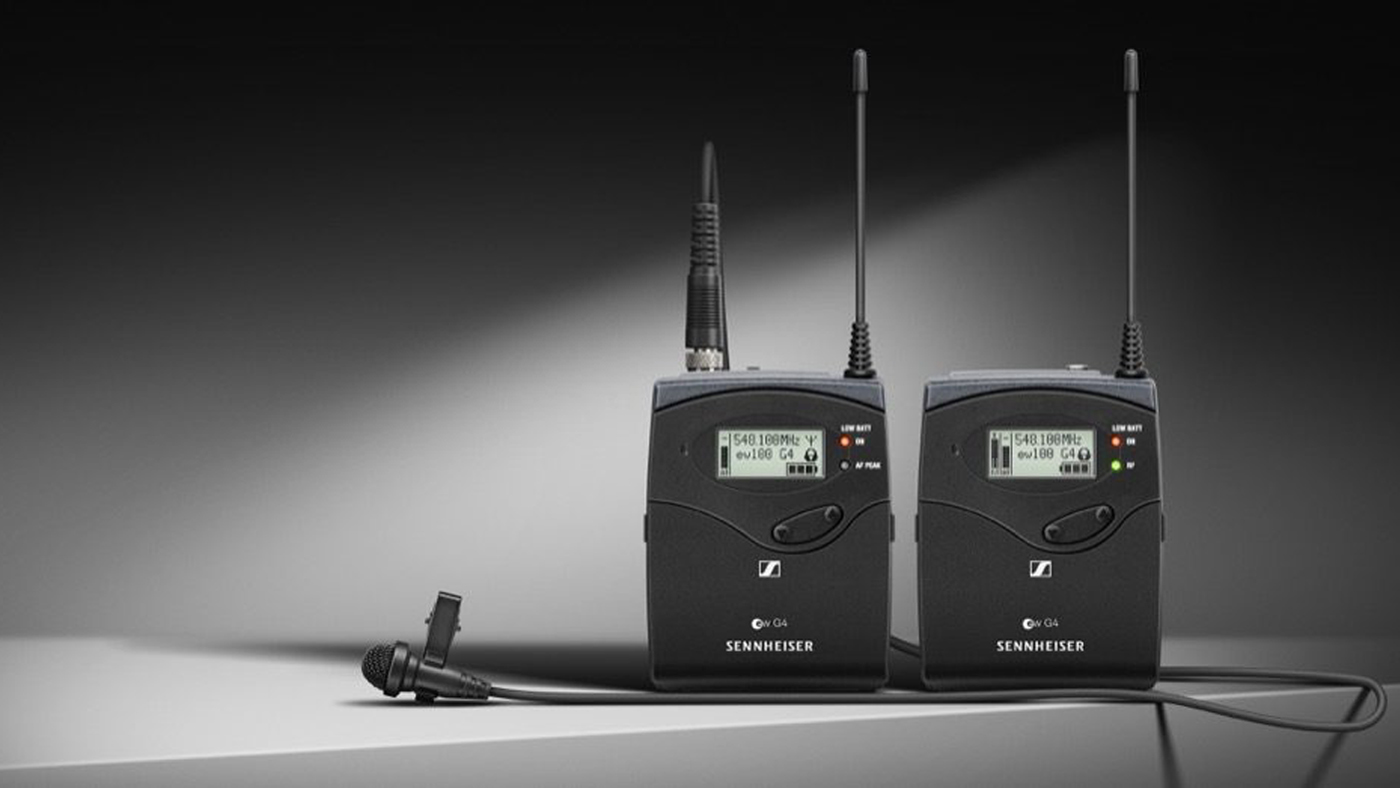
A lavalier mic, on the other hand, has the advantage of being less noticeable while also picking up the sound from the person wearing it, if carefully placed. These mics vary in price and sensitivity, one example is the inexpensive JK MIC-J 044, and many can be used with wireless transmitters. This then permits the subject free movement without the constraints of wiring to deal with.

Generally, condenser mics will work well in a small YouTube studio environment. Though more expensive than dynamic, they are well suited for indoor use and their output is louder and better detailed.

Since there is no single standard for the quality of the audio that will be transmitted from YouTube to listeners, or the speakers or headphones on which they are heard, the mic must capture clean and clear sound with as little distortion as possible. 
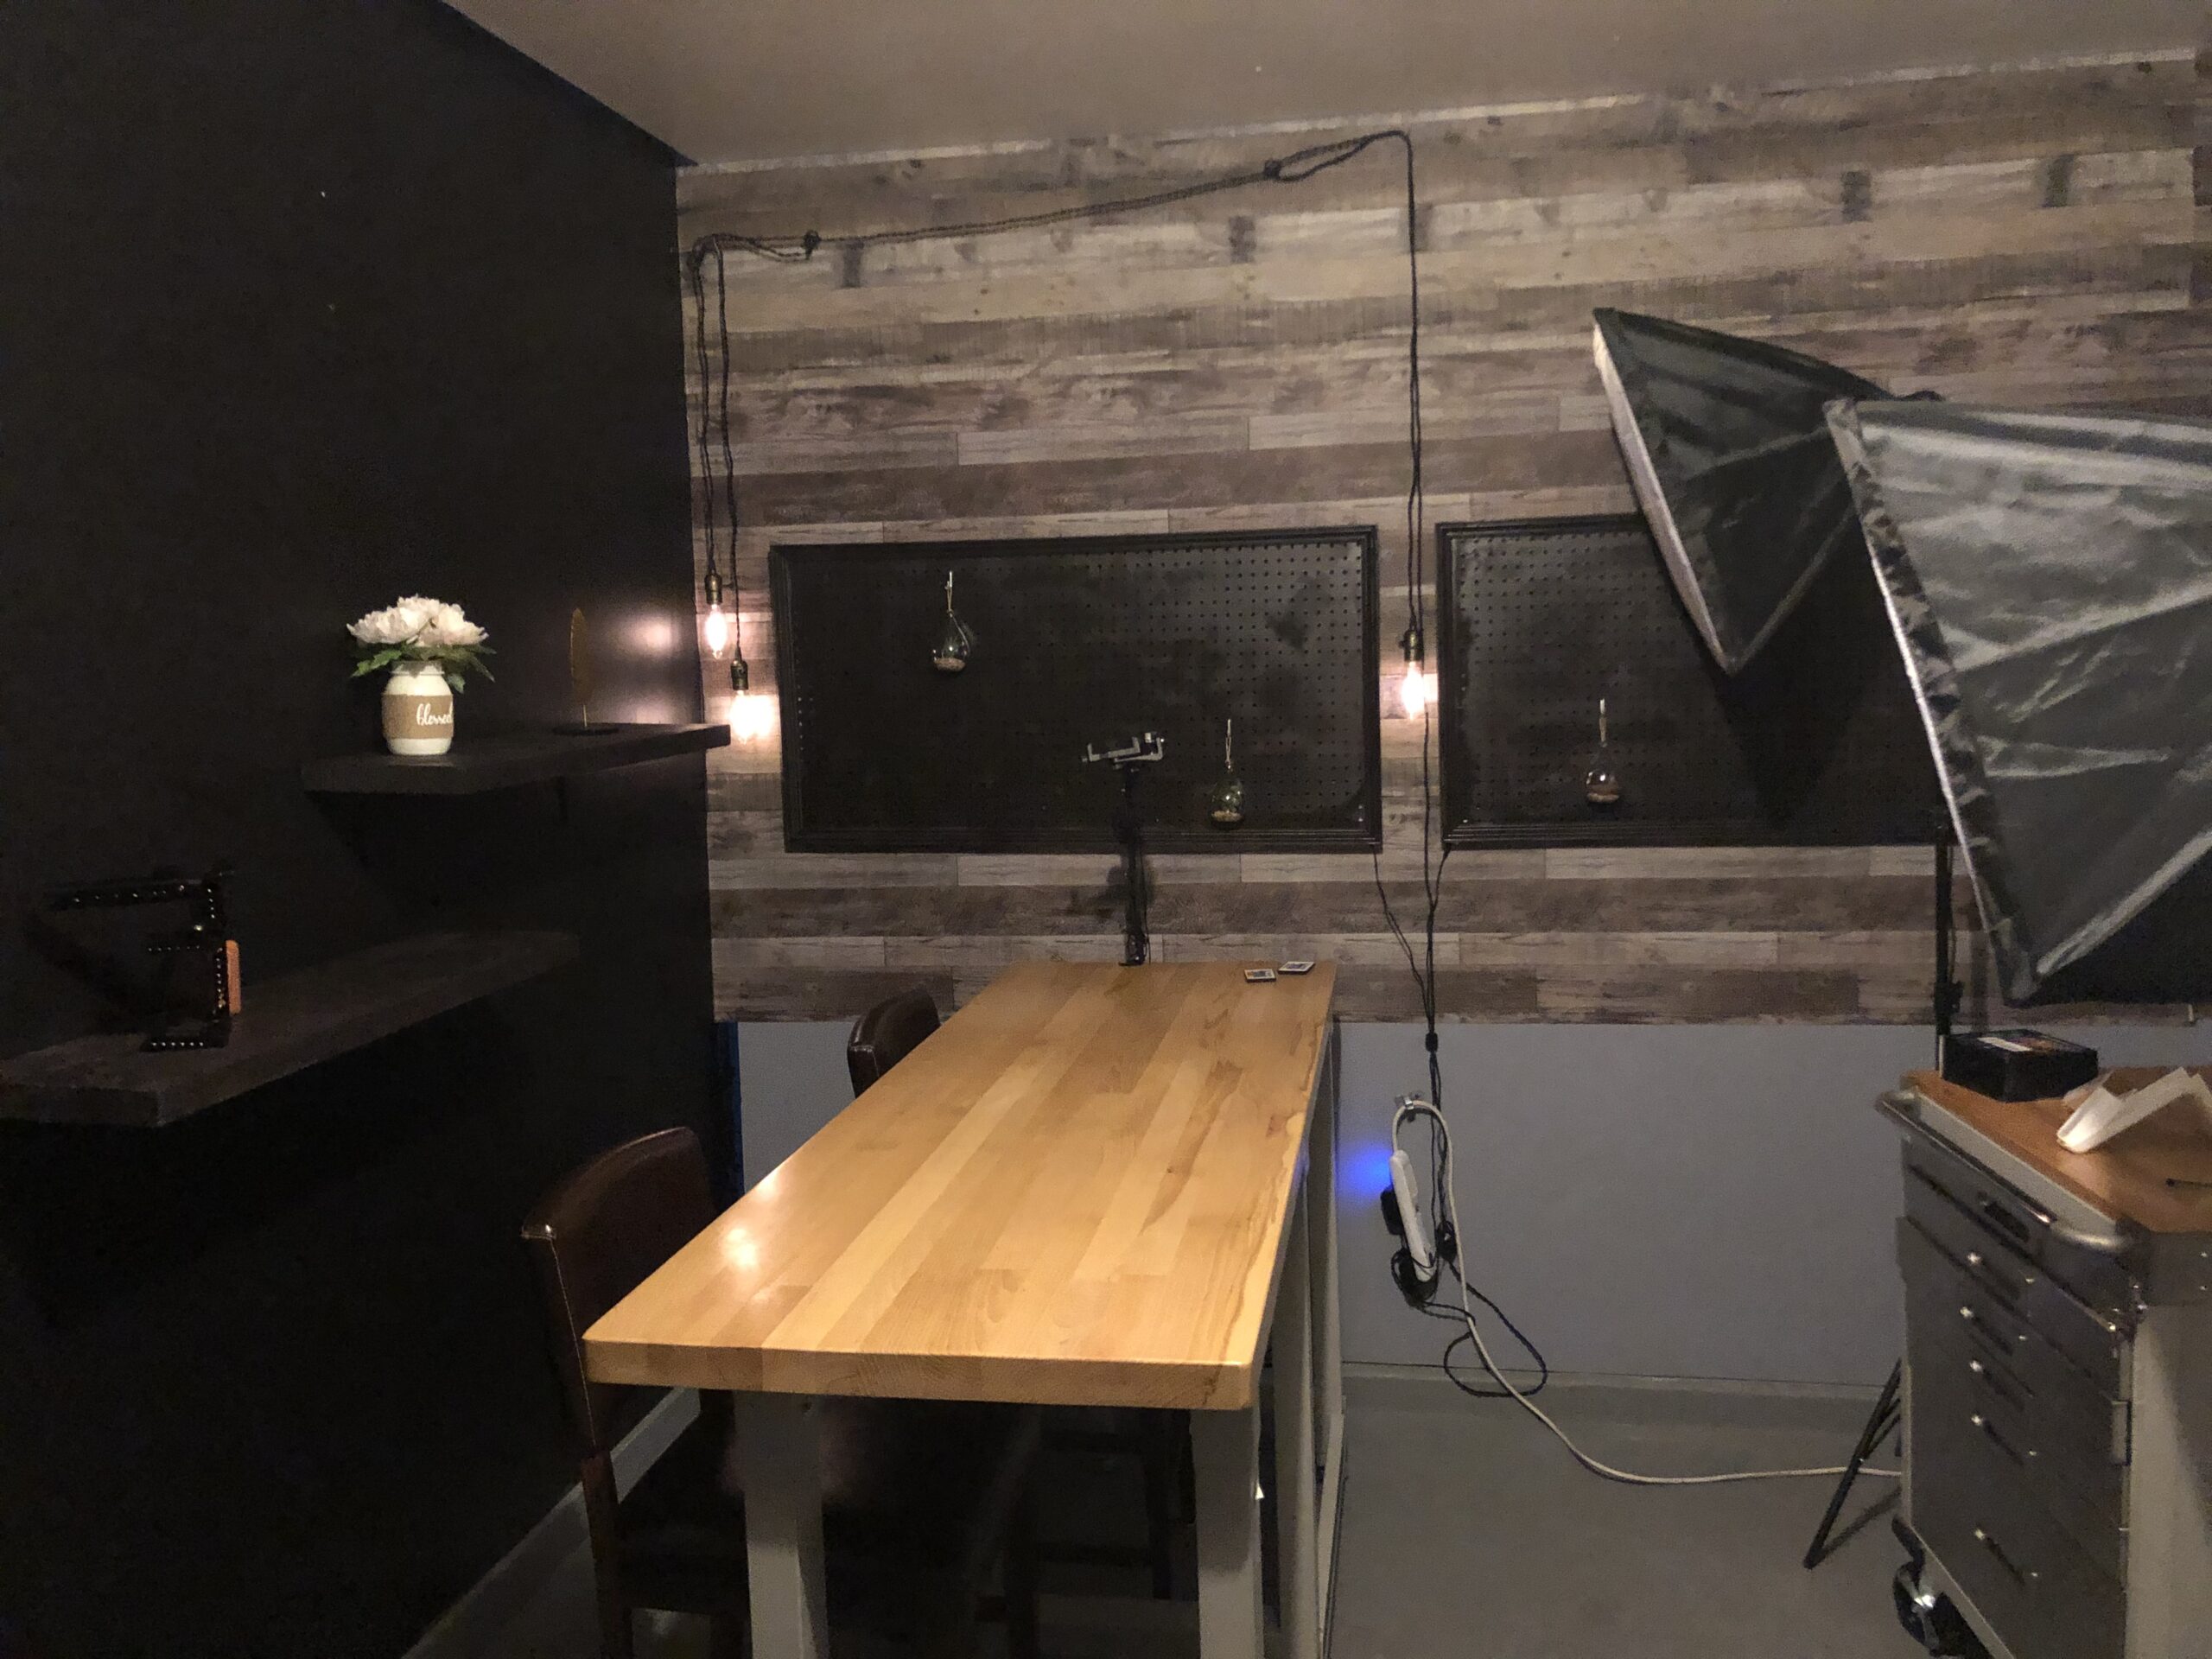
Our microphone picks for your YouTube studio

Background

It’s important to note that what the camera sees behind the person should never be distracting. This includes furniture, posters or family photos on the walls, doors, cupboards or anything that isn’t intentional for the theme of the video you’re shooting. For instance, if you’re shooting a video on a DIY home improvement expert, strategically placed tools can add to the look, as long as its not over done.

Clamp and light stand

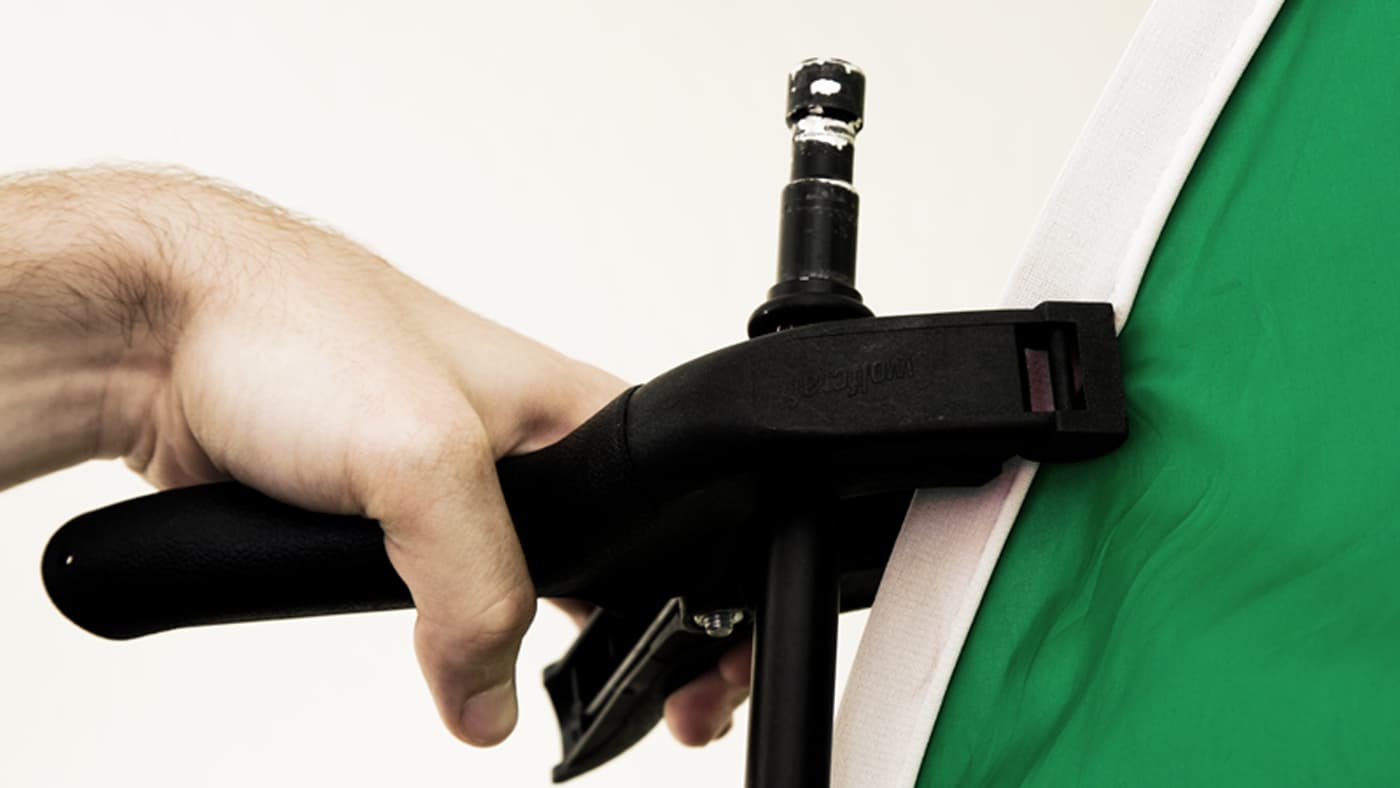
Background material can be taped to the wall temporarily or through the use of spring clamps and C-stands if the surface can be held together. 

Another option is to have a multi-purpose background. The basic background can consist of a paper roll (white or any color desired as gotten from a photo supply house or art center), that is attached to a curtain rod. The sides of the rod can be held in place with clamps attached to tall photographic stands. If you don’t have stands, but need a background solution, wooden rods that are taped to dumbbells or which have been encased in a pail that has been filled with quick-drying cement can hold a paper roll. The paper can also be covered with stylistic touches, such as fabric, or have streamers or balloons attached to it to create an entirely different background.

If you are planning a virtual background, there are a variety of green screen options. The easiest are fabrics. Fabrics are fairly easy to handle in larger sizes. The main disadvantage are wrinkles in the fabric. They must be ironed out or they will cause irregularities in the lighting. If you don’t care that it’s green, you can find special chromakey paint to use on a smooth wall for a permanent setup. 

By using a green screen, most editing software can take the final video and insert a background of your choosing—be it a simple white wall, a window view into a garden or a scene from Star Wars. Unlike years past, green screen technology for home use has reached levels that do not require a stiff learning curve or cost thousands of dollars. 
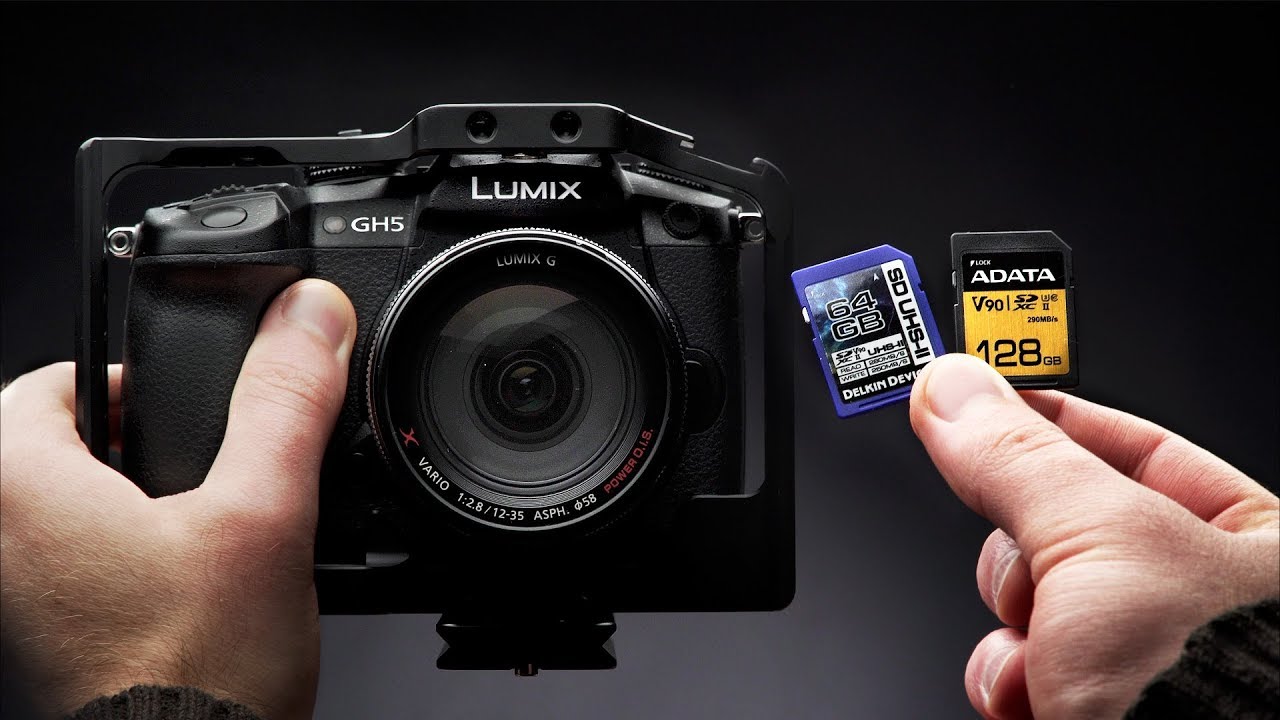
Our background picks for your YouTube studio

Memory Cards

Don’t learn the hard way, back up and have back ups for your back ups!. Nothing is more frustrating than spending hours planning a shoot, then hours actually doing the shoot to either, run out of memory cards, lose the memory cards, have your memory cards damaged etc. Sadly it happens to all of us. So the best thing you can do to prepare yourself, aside from having a computer and external HD to offload data immediately to, is always have SD cards on hand. I’ll say it in advance, you’re welcome.


Don't forget memory cards

Finishing the YouTube studio

Having a dedicated room to shoot your YouTube videos is a luxury that many will not be able to afford. But even if the accoutrements must be assembled and then disassembled each time a video is to be made, there’s no getting around the need for creating a visual and aural environment that makes what is being shot the center of attention. This can be done by approaching and attacking each of the problem areas that video and audio will encounter in the room and solving them in a patient and straightforward manner.